It’s the end of tomato season, and time to make sure your stores are full for winter. It’s always best to use sauce varieties of tomato for preserving (like Roma, Amish Paste, or San Marzano) as they’re meatier with more flesh and less juice. However, when you’re snowed under with end-of-season salad tomatoes, don’t let them go to waste!
This article explains how to preserve tomatoes using a Fowler’s Vacola unit, but you can just as easily use a large stockpot on the stove, or do it the Italian way with an outdoor fire and a 44 gallon drum.
Here's the process
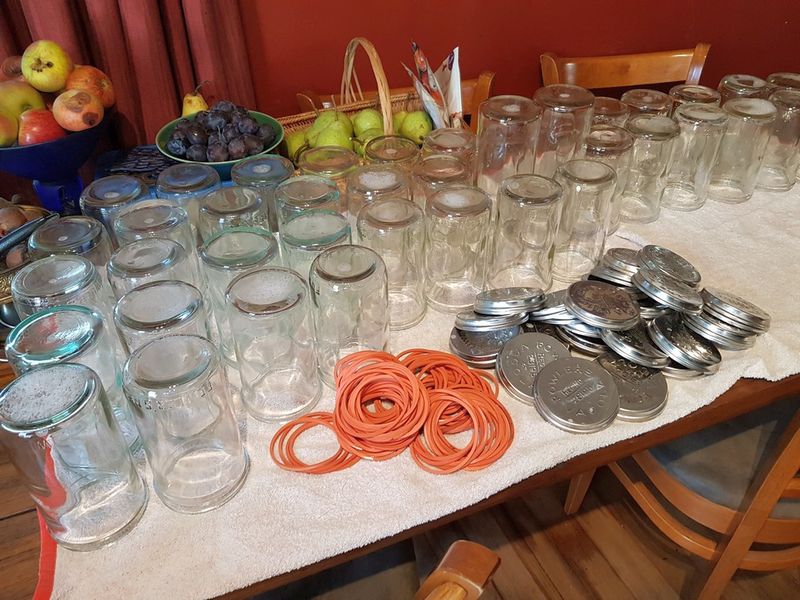
Step 1: Get all your bottles, rings lids and clips clean and ready to go.
If you don’t have proper Fowler’s jars, you can use any strong glass jar with a clean, non-damaged lid. Used passata jars are perfect, and you can purchase new lids for most size jars online.
Step 2: Choose firm Roma tomatoes in good condition (or any kind of tomato but preferably not too juicy).
Wash them and dice them (some people peel them first by dipping in boiling water – I never do that and am happy to have the skins in the bottles).
If you don’t like finding pieces of skin in your finished product, you can whizz the tomatoes in the food processor first, to make a passata-like product instead. This smooshes the skins so they’re less noticeable.
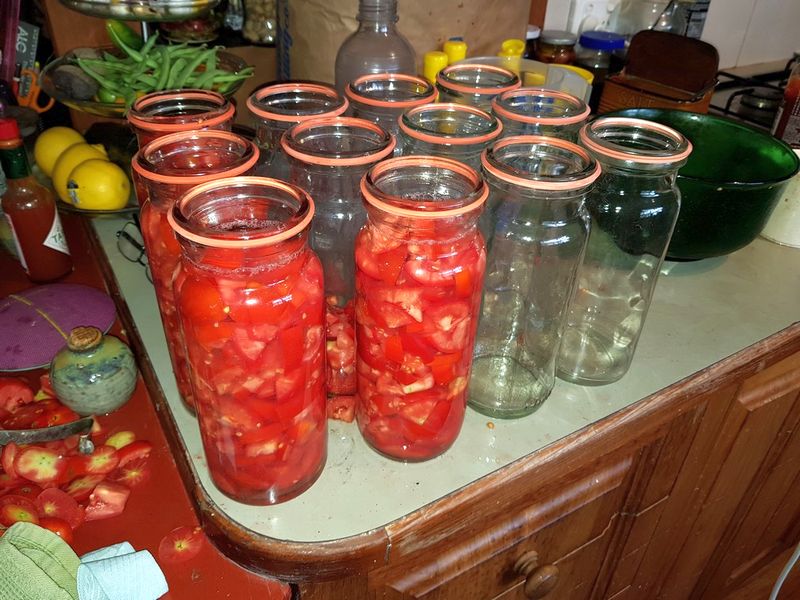
Step 3: Fill your bottles to about an inch below the top, fill with water, remove air bubbles by sliding a chopstick of something else thin down the sides of the bottle.
Add a ½ teaspoon salt and 2 teaspoons lemon juice (this adds acid to protect you from botulism which can thrive in anaerobic, alkaline environments). You can also use citric acid instead of lemon juice, which is available from the supermarket.
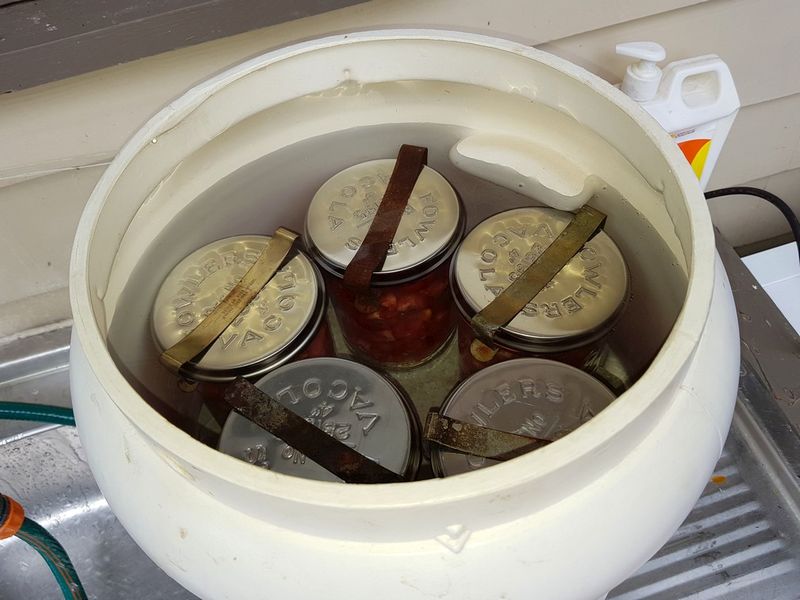
Step 4: Add the rings, lids and clips, and put the jars into your Fowlers Vacola unit, covering them with water.
If you’re using a stockpot on the stove, add your jars and simply cover with water to an inch above the lid.
We have two Fowler’s units set up on our back kitchen bench to allow us to process more bottles in less time.
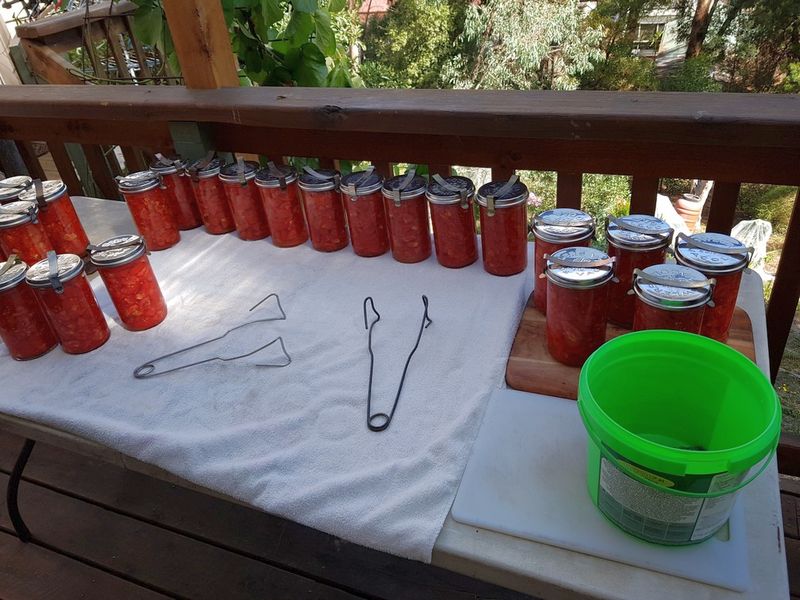
Step 5: When the 1 hour cooking time is finished, lift the bottles out and allow them to cool overnight, leaving the clips on.
If water bathing on the stove, boil your jars for 40 minutes then allow them to cool in the water.
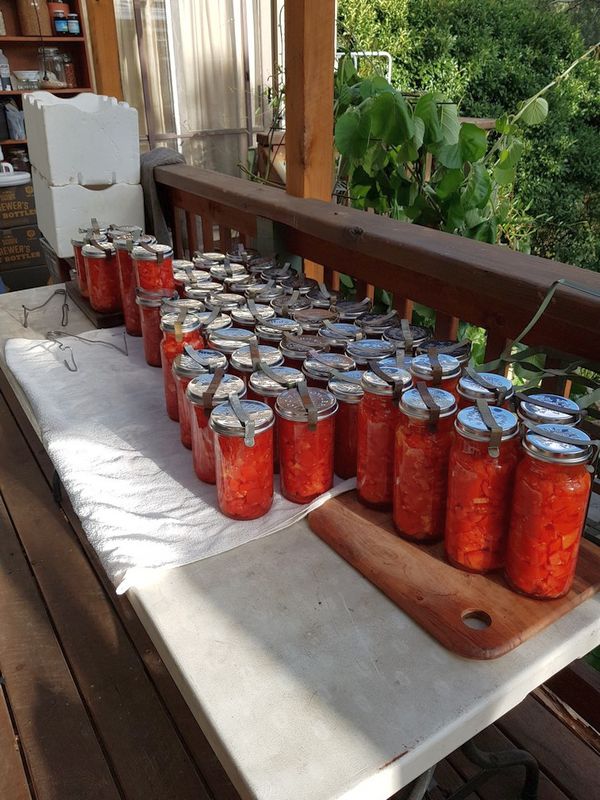
Step 6: Remove the clips and carefully lift each bottle by the rim of the lid, to make sure you have a good seal. If any have not achieved a seal, the lid will come off in your hand so make sure not to lift it too high from the bench when you test!
Enjoy being able to grab your own delicious bottles of tomatoes off the shelf every time you need them.
Sometimes the tomatoes separate in the jar, leaving the pulp at the top and clear juice at the bottom. This makes no difference to the end product, and you can simply shake the bottle before using to reintegrate. One way to avoid separation, though, is by cooking the tomatoes before bottling; i.e. boiling the diced or pureed tomatoes for 10 mins before ladling into jars.
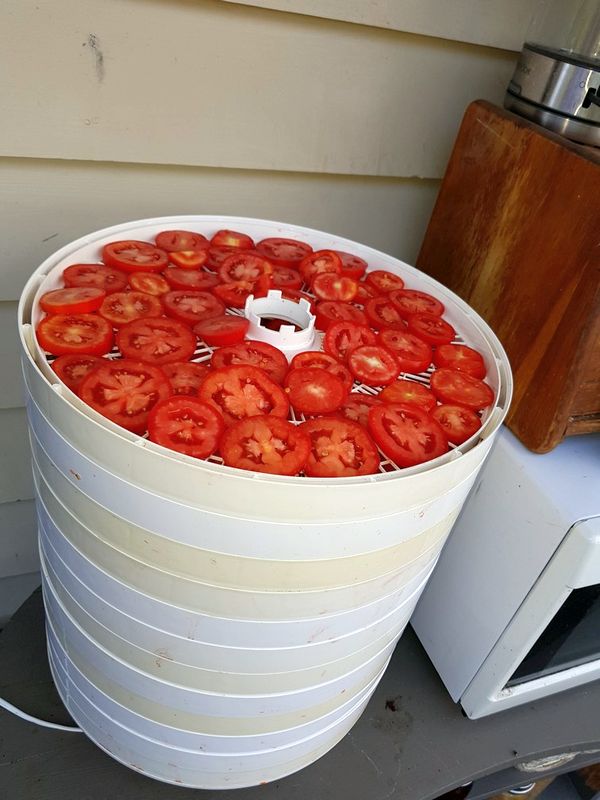
PS – if you have enough tomatoes, why not dehydrate some too? You can do this using a dehydrator (as pictured), a solar dehydrator, or using a conventional oven on low.